
As we acquire the new Raspi models, old ones can be very useful for small tasks but, we should also update the OS version to the latest one.
One very good thing of Raspberry Foundation is that they keep backwards compatibility with older Raspi models. In this article, we will start from scratch (empty SD), in 2021, to configure a Rasp 3 with the base OS and in following articles, add new features from a Linux computer.
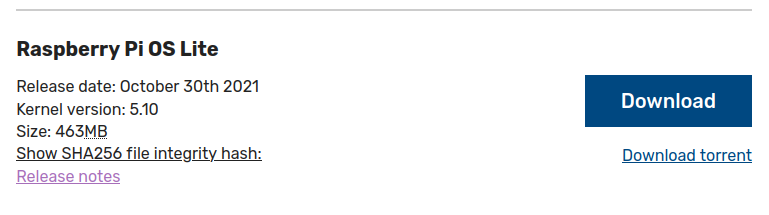
1 - Download the base OS
First, we need the base image. In this article, I will use the lite version and we will install later whatever packages we could need.
Go to Raspberry PI Download page and get the image.
2 - Write image to SD
Now, the image needs to be written to a SD.
WARNING: ALL DATA IN THE SD WILL BE DESTROYED AFTER EXECUTING THE FOLLOWING COMMAND.
First, check what device name has been asigned to the SD. As this is a very important step, I recommend extracting and reinserting the SD and check what device name is assigned, for example:
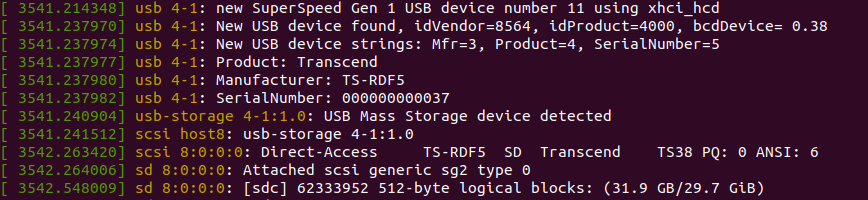
We can see the device is named sdc, and so, we can proceed writting the OS image.
unzip -p PATH_TO_THE_DOWNLOADED_FILE | sudo dd bs=1M of=YOUR_SD_DEVICE_NAME
After a while, the image will be completly written and you should get a message like this:

Eject the device to ensure all buffers and cache if written to the SD.
sudo eject /dev/sdc
3 - Prepare for first boot. Enable ssh access and disable auto resize
We would like to use the Raspi with SSH as soon as it boots and we would like to avoid automatic SD resizing (as we could like to repartition with our own partition scheme).
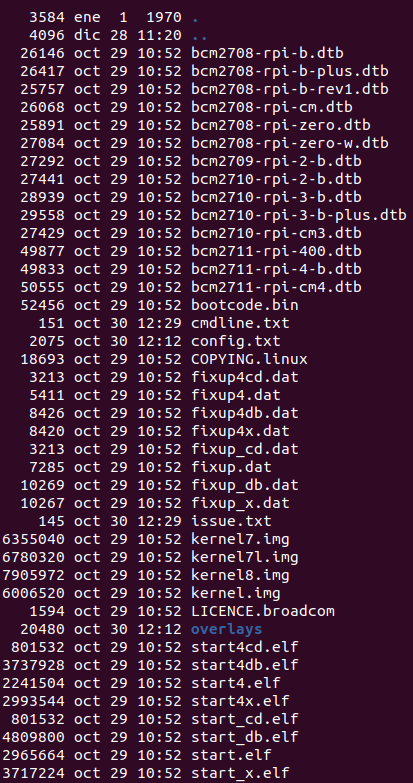
To do so, first, reinsert the SD to the Linux where we're configuring the image and ensure the "boot" partition is mounted:
ls -al YOUR_MOUNT_PATH/boot
You should see something like this:
Enable automatic SSH start by creating and empty file named "ssh":
touch YOUR_MOUNT_PATH/boot/ssh
And disable automatic resizing:
sed -i 's| init=/usr/lib/raspi-config/init_resize.sh||' YOUR_MOUNT_PATH/boot/cmdline.txt
You can eject again the SD:
sudo eject /dev/sdc
4 - Insert the SD on the Raspberry and boot it for the first time
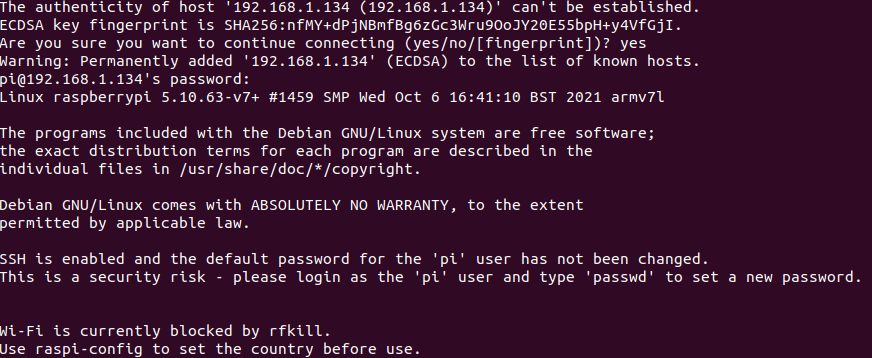
The Rasp will boot (give it a couple of minutes) and then we should be able to login using SSH (the IP you'll get will vary based in your local network configuration):
ssh pi@YOUR_RASP_IP
As this is the first time we connect to it, SSH will warn us about connecting to an unknown device and add list to the known hosts list (type yes, and use as password "raspberry" that is the default one):
5 - Add your user and disable pi default user
We need to secure a little the Raspi. First, create your own user, set it with a secure password and disable the "pi" one:
sudo adduser YOUR_USER_NAME
sudo cp /etc/sudoers.d/010_pi-nopasswd /etc/sudoers.d/010_custom-nopasswd
sudo sed -i 's/^pi /YOUR_USER_NAME /g' /etc/sudoers.d/010_custom-nopasswd
Logout and relogin but this time with your new user and the new password:
ssh YOUR_USER_NAME@YOUR_RASP_IP
Disable the pi default user:
sudo usermod -L pi
Also, I strongly recommend setting a public key for SSH authentication and avoid using a password. You can do that easily, provided you're in a computer with Linux and the private key just logging out of the Raspi and executing, from your desktop computer:
ssh-copy-id YOUR_USER_NAME@YOUR_RASP_IP
If there is no error, you will be able to log in to the Raspi without using the password.
6 - Basic post-installation actions
Your Raspi is up and running, you can SSH to it and do many things, but, commontly, it is recommended to go to the raspi-config utility:
sudo raspi-config
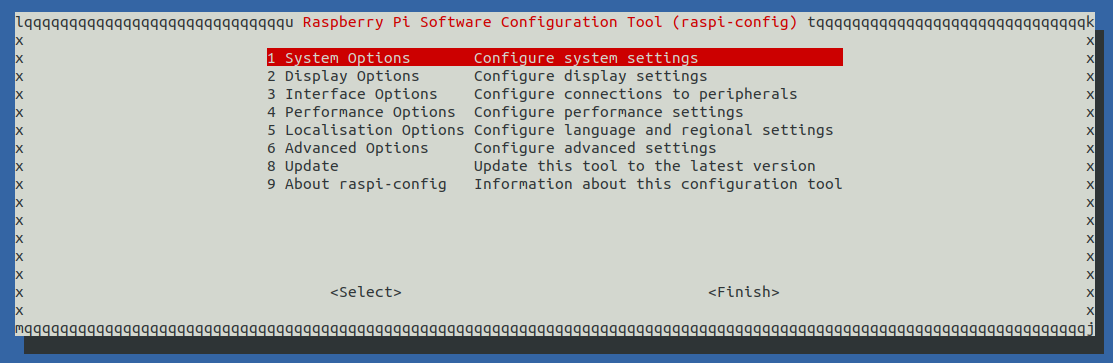
and configuring at least:
- System options -> Wireless LAN: Set your country to be able to use WLAN (do not set SSID if you don't want to connect using WLAN yet)
- Localisation options -> Timezone: Set your timezone so the Rasp can show the localtime
- Localisation options -> Keyboard: Set your prefered keymap so you can use an attached keyboard if you need to
After doing this, raspi-config will ask to reboot, select yes and the device will restart with the new settings.